Saturday, October 28, 2006

Path

I made a path through the front yard with the broken concrete from an 8x8 section of the driveway. A bit of work, but saved the concrete disposal. Took about 3 hours to bust it up and 5 hours to reassemble the pieces into a pathway.


Wednesday, August 02, 2006

Garage Farewell

The garage had to go. Cracked and sinking slab, no footing, frame walls underground, complete roof failure. It was all bad. I ended up only saving the siding since it was clear doug fir and is what kept the thing from falling down.
A layer of roll roofing over some old tar/asphalt over cedar shingles was the roof.

Almost every stud was spliced or sistered. Most had powder post beetle damage from being underground or from having the roof leak.


No gutters on the south side made all of the nails rust through, the siding fell off, and the wall framing started to rot away.
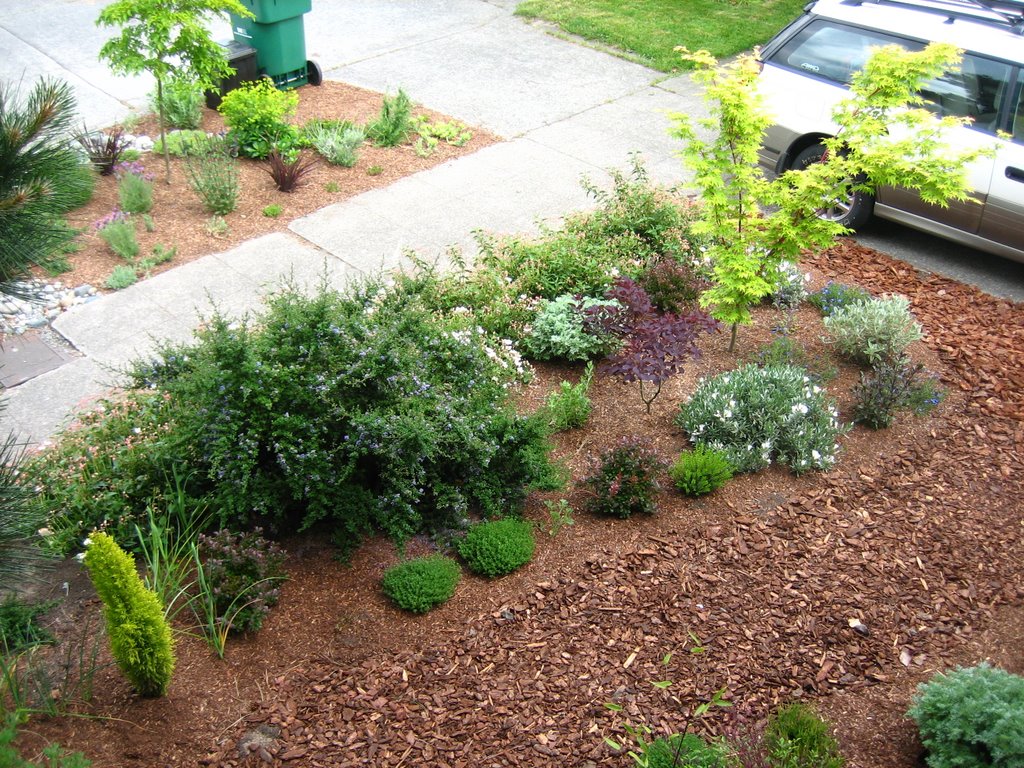


Now it is a distant memory...now to figure out what the city will let me build.

Thursday, June 29, 2006

Gardens

We had a nice warm spring with a good amount of rain this year. The plants have been going wild. Rock rose, smoke bush, japanese maple, and many others.
From the porch

Asian pear tree.

Steps are stripped of paint and the old cast concret finish. I still have to strip the old iron railings and paint them.

Wednesday, May 17, 2006

Fabric


Made a frame for some Marimekko fabric we purchased downtown. The large format and pefect colors struck us both as being perfect for the space. I also made some 'legs' for the school cabinet side table out of some old redwood 4x4's. The combo really enhanced this area of the house

Sunday, April 23, 2006

Hallway

I decided to put down some reclaimed fir flooring for the hallway beside the kitchen island. I was able to get about 60% of what was needed from the ReStore a while back. The wood was in excellent condition because it had been used as a ceiling and was never finished with more than some oil. I purchased the rest from Dunn Lumber since they sell FSC certified wood.
Old ship lap sub floor


Tired after swinging the sledge for the floor nailer all day


1 coat of sealer

Fir and slate show off well

Monday, March 27, 2006

Chalkboards

After much ado, the slate is down. I purchased a number of old chalkboards that were salvaged from the old Tacoma Stadium High School from the ReStore last spring. After having to cut and clean old mastic from the surfaces, I ran into some problems with adhesion of the slate chalkboard surface to the thin-set. After having to pull up two sheets and chisel the hardened cement off the floor with a 1.5" cold chisel and a hammer for 2 hours, I swore I would never do tile/stone again. It looks like the instructions on the thin-set tell you to mix the stuff too thick, and with the dry porous slate surface contacting the dry thin-set, I could not get the adhesion needed.

It became clear that I was violating a number of stone installation rules:
Tiles as large as 42"x 42"
Very thin application of thin-set to have floor surface match up with the existing floor
Using old recycled slate blackboards with a very smooth ground surface for adhesion
Having to pull out warped slate with the thin-set adhesion


I now have to seal the slate so I can grout the cracks, seal it again, and we can move the island and stove back into position to have a working kitchen again.

Sunday, March 12, 2006

Plants & Pinecones

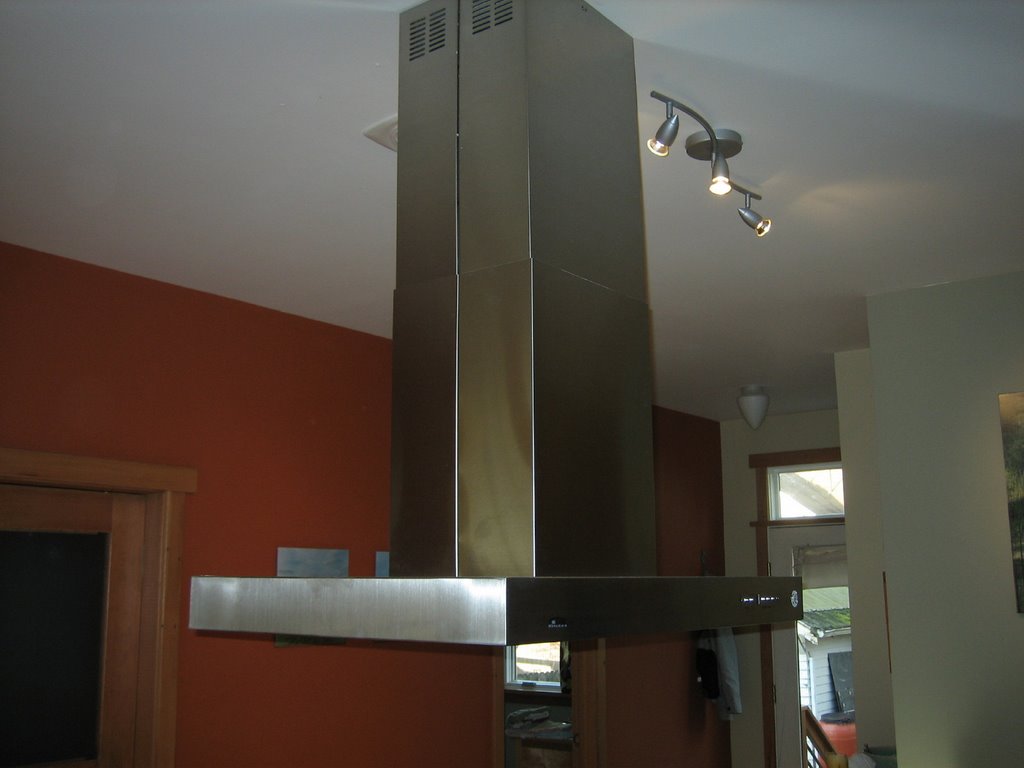
Kitchen update: Installed the stainless plant shelf above the windows. The floor is now ripped up in preparation for installing the slate chalkboard. Hope to be done with that project soon.

Saturday, March 04, 2006

Ventus


I finally installed the range hood this weekend. Not too bad of a job once the location was finalized. The hood was the most inexpensive island hood that exists (around $700) and it seems like it will do the job. There are of course some poor design issues mostly having to do with the details. I will have to sand off the terrible "Euro Kitchen) logo of course. It is definitely not the most attractive thing out there, but I have only been impressed with ones costing $2500 or more and that is just not where I am going to spend the dollars.
http://www.euro-kitchen.com/

Sunday, February 26, 2006

Kitchen Progress


Finally got the countertop in and trimmed out the window. The cabinets are now finished with black hardware on the bamboo fronts giving a nod to Japanese furniture design. The north wall is now complete with the exception of the stainless shelving above the windows. Next is the floor and the island.


Welded stainless sink in bent sheet countertop. It was a bit expensive at around $1300, but tied everything together nicely. Ikea faucet at $90 did the job although it is no where near as nice as the $350 Grohe that I could not convince myself to buy.


Detail of the doors. Bottom is the endgrain of the bamboo ply. The doors are setback 1/4" to accent the box edge detail. Black powder coated T-pulls.


Detail showing the stainless countertop/backspash and the side panel with CVG fir window trim.