After having salvaged an old solar PV system from a house that was getting demolished two years go and putting the panels on last summer to see what they were capable of doing, I decided to go all in and build a new system on our house. The old system was 13 years old and 3x less efficient and outdated than what could be purchased now. The urgency was due to the ending of the subsidies and tax breaks. They will all be disappearing over the next few years including the 30% tax refund on installation cost. Now was the time to do it. I got a bid for a company to do the job and it was $18,000 - 30% ( which would never pay for itself with our annual use of $300 of electricity. I estimated about $7500 in materials and fees and then you subtract 30% so that worked out to $5200 in the end before generation credits. I would take on the job to see if I could pay myself $7500 for about a month of part-time work.
Photos are backwards of course.
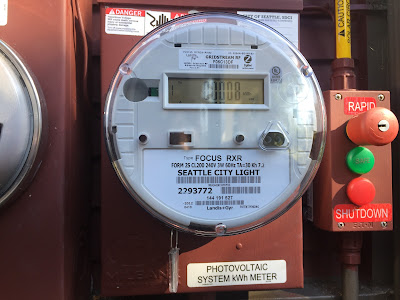
First kWh generated September 1st after waiting nearly a month for the electric utility to install the meter.
One by one, every nice night after work I would pull up another panel or two.
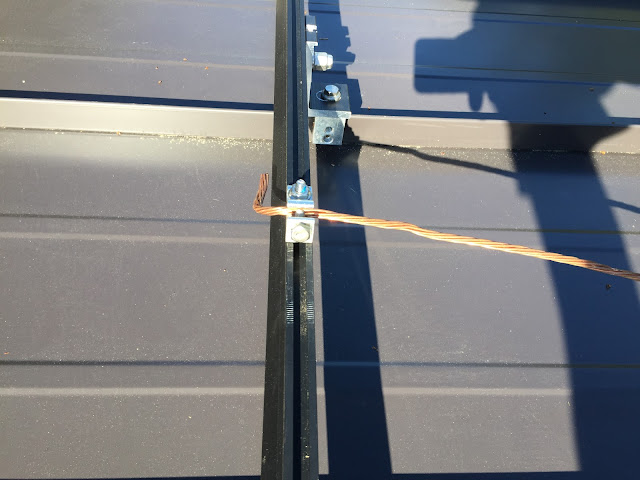
Installing the racking was straightforward of course it took a few tries to figure out what straight meant since the roof has is not flat or square in any direction. Some setscrew clamps were used to attach the rails to the roof standing seams. This was another reason I decided I could handle this as a DIY project.
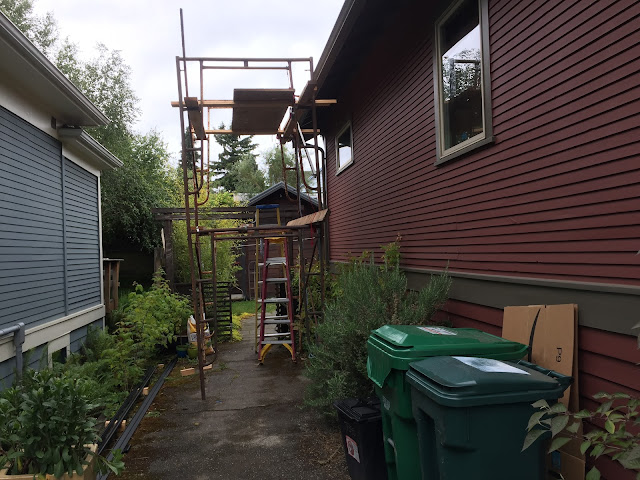
I would hand carry each panel up to the roof myself up the scaffolding. I borrowed my dad's roof fall arrest harness for safety.
SMA Sunny Boy inverter and rapid shutdown from Germany looked like top quality assembly and construction on the inside.


