After much ado, the slate is down. I purchased a number of old chalkboards that were salvaged from the old Tacoma Stadium High School from the
ReStore last spring. After having to cut and clean old mastic from the surfaces, I ran into some problems with adhesion of the slate chalkboard surface to the thin-set. After having to pull up two sheets and chisel the hardened cement off the floor with a 1.5" cold chisel and a hammer for 2 hours, I swore I would never do tile/stone again. It looks like the instructions on the thin-set tell you to mix the stuff too thick, and with the dry porous slate surface contacting the dry thin-set, I could not get the adhesion needed.
It became clear that I was violating a number of stone installation rules:
Tiles as large as 42"x 42"
Very thin application of thin-set to have floor surface match up with the existing floor
Using old recycled slate blackboards with a very smooth ground surface for adhesion
Having to pull out warped slate with the thin-set adhesion

I now have to seal the slate so I can grout the cracks, seal it again, and we can move the island and stove back into position to have a working kitchen again.


 1 coat of sealer
 1 coat of sealer

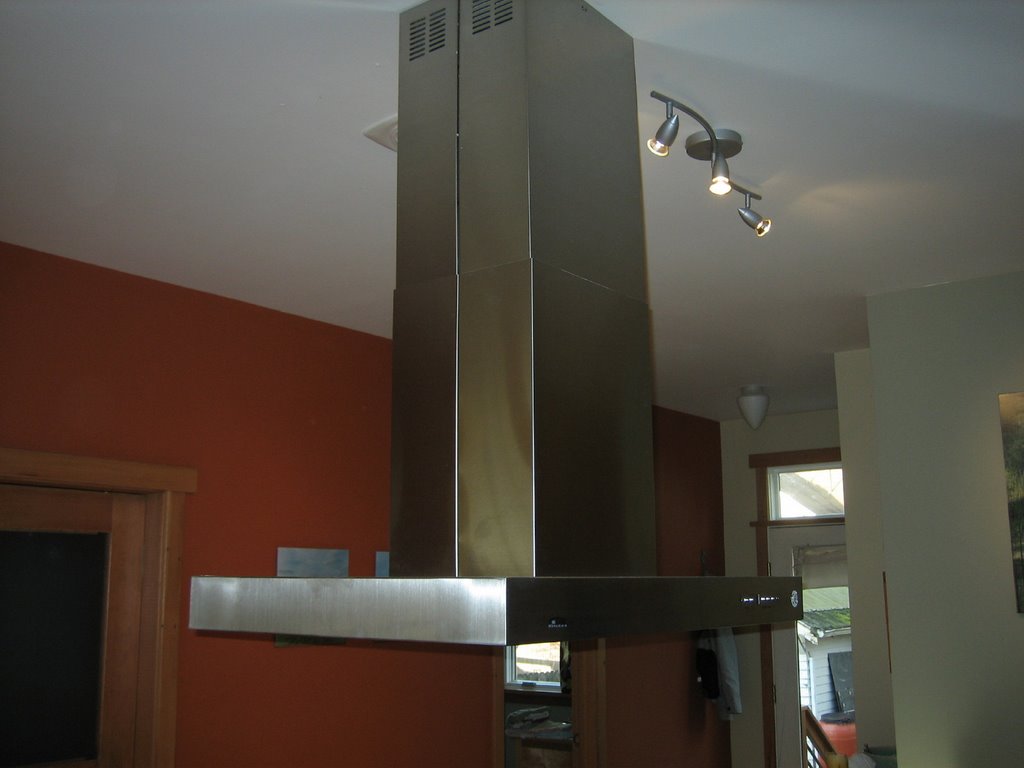
 Kitchen update: Installed the stainless plant shelf above the windows. The floor is now ripped up in preparation for installing the slate chalkboard. Hope to be done with that project soon.


 Detail of the doors. Bottom is the endgrain of the bamboo ply. The doors are setback 1/4" to accent the box edge detail. Black powder coated T-pulls.


